 by
by A virtual machine (VM) is a software implementation of a physical computer. It allows you to run multiple operating systems on a single physical machine, each in its own isolated environment. This can be useful for a variety of purposes, such as testing software, running legacy applications, and isolating different environments.
Hyper-V is a virtualization product from Microsoft. Which can be enabled as a feature on both Windows Server and Windows Client products. In this tutorial, we show you how to create a Virtual Machine and install the operating system on it. With this tutorial we assume you have a Hyper-V server available, running locally on your desktop or on a physical server.
You can read HERE how to install Hyper-V on Windows.
- Start Hyper-V Manager, connect to your Hyper-V server or local running Hyper-v role.
There are multiple ways to create a virtual machine. Just click Action -> New -> Virtual Machine.

2. Give your virtual machine a name. This name is also used as the computer name.
Then, select a location for your virtual machine. The default path is set to a program data directory, not very handy in my opinion. Check the box (Store the virtual machine in a different location) and browse for a path to a data disk for example.

3. Select the generation. Personally I always try to create the VM as Generation 2. When it does not work, you can always switch back to Generation 1. But you can use this rules for choosing the generation:
Generation 1: When you have some legacy OS versions which not support UEFI or appliances or 32-bit guests.
Generation 2: Always 64-bit operating systems which supports UEFI.

4. Assign the amount of memory. Normally we assign memory in GBs but in Hyper-V you must input the amount in MBs.
So if you want 4 GB. It’s 4 * 1024 = 4092 MB.

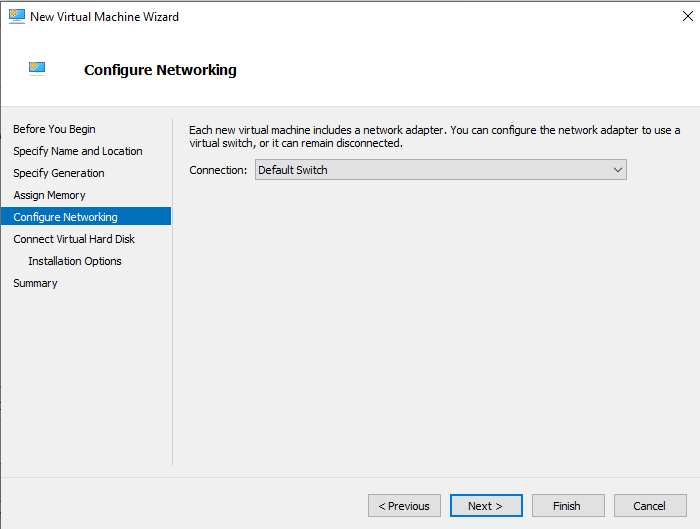
5. By default when the Hyper-V Role is enabled on your Windows 10 client there is also a “Default switch”. This is a NAT-based virtual switch that combines the internal and external switch functionalities.
6. On this page you can configure your OS disk. When you have already a.VHDX with an operating system on it, you can mount it here.

7. With the next step you can already mount an ISO file on your VM. So you can install the operating system with that ISO file.

8. Check the summary, go back if needed. Otherwise, click finish.

9. A kind of strange thing in this wizard is you cannot select the amount of VCPU you want to add to your Virtual Machine. Don’t know why they didn’t build in this step. But in our example, we’ll tell you how to add some extra VCPU.
Just right-click on your created VM and click Settings.

10. Upper the VCpu counter.

11. Now you are here, check if the boot sequence is correct.

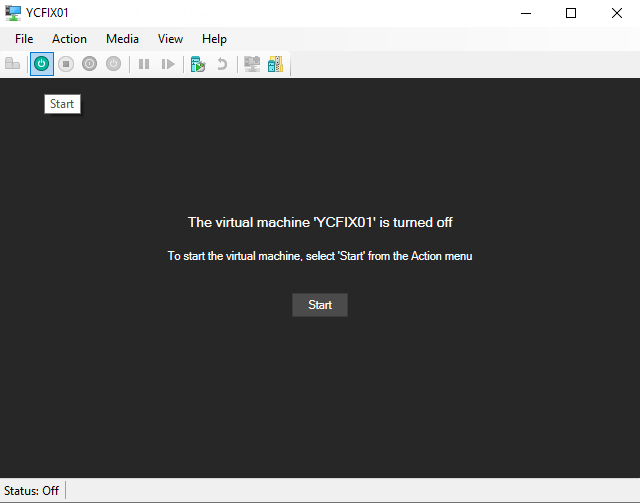
12. Connect with the Hyper-v Virtual Machine manager console to your VM.
Right-click on the VM -> Connect.

13. Start it.
14. Smash on your keyboard when it says: press any key.

15. If you want to read more about how to install Windows? Check it HERE.